Welcome to our comprehensive guide on draught-proofing sash windows, a crucial step in enhancing your home’s comfort, energy efficiency, and preserving its historic charm. Whether you’re a homeowner seeking practical solutions or a preservation enthusiast looking to maintain the authentic character of traditional sash windows, this detailed resource offers actionable insights backed by expert knowledge, practical case studies, and the latest industry practices.
Introduction to Draught-proofing Sash Windows
Understanding the Benefits of Draught-proofing
Draught-proofing sash windows is an essential intervention that directly impacts the thermal performance of traditional homes. It involves sealing gaps and leaks around the sash and frame to prevent cold air ingress, reduce heat loss, and optimize indoor comfort. The benefits extend beyond just comfort; they include significant energy savings, lower heating bills, and a reduction in carbon footprint. Properly draught-proofed sash windows can improve acoustic insulation by dampening external noise, which is particularly valuable in noisy urban environments.
For homeowners in the UK aiming to achieve a cozy and energy-efficient residence, understanding how draught-proofing aligns with both sustainability and conservation goals is key. Additionally, skilled draught-proofing techniques help maintain the aesthetic integrity of period features, ensuring that improvements do not compromise the historic character of heritage buildings. To explore effective solutions tailored specifically for sash windows, visit Draught-proofing sash windows.
Common Challenges With Traditional Sash Windows
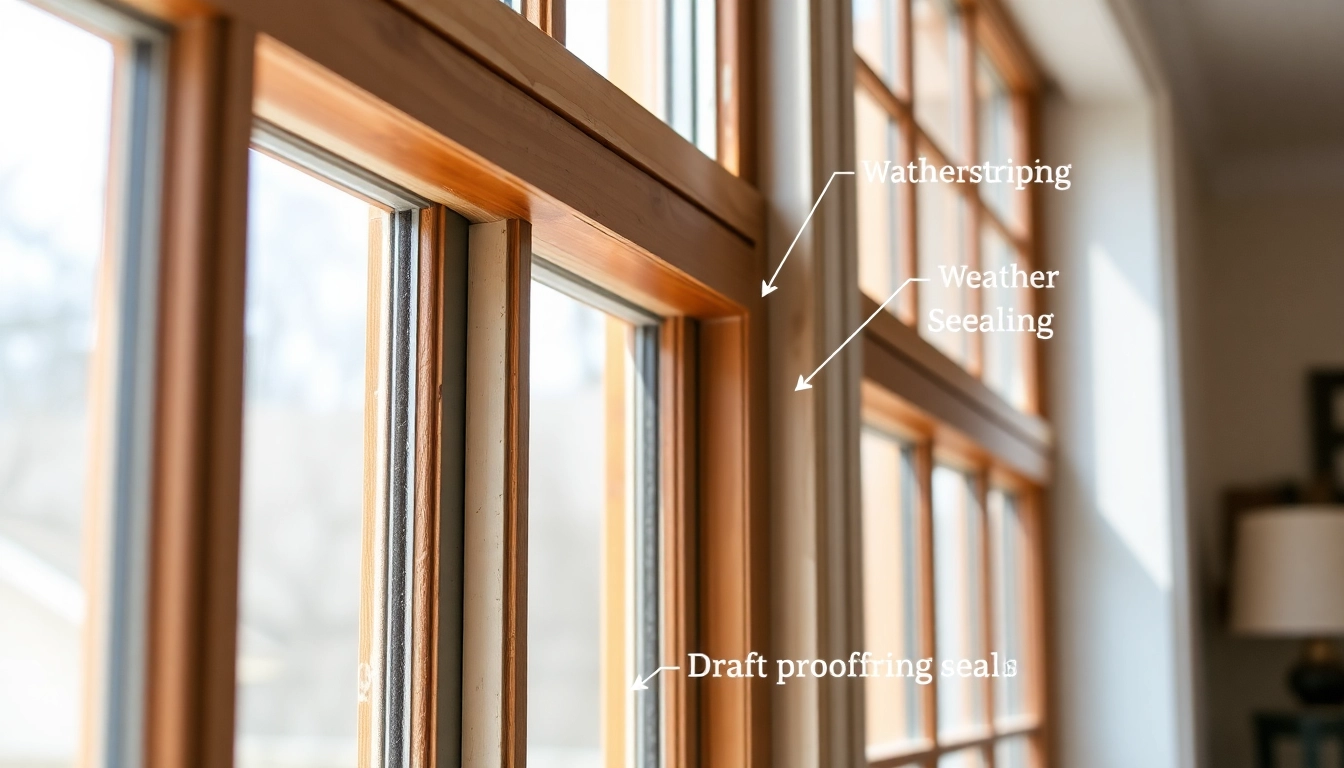
Despite their charm, traditional sash windows are notorious for their susceptibility to drafts because of their design and aging components. Over time, weatherstripping and seals deteriorate, leading to gaps that compromise thermal and acoustic insulation. Sashes may stick or rattle, further allowing air infiltration and disturbing operation. Challenges include:
- Worn or missing weatherstripping
- Gaps between the sashes and frames
- Cracks or warping due to weather exposure
- Old paints and sealants losing adhesion
- Inadequate or non-existent secondary glazing options
Without intervention, these issues contribute to increased heating costs and occupant discomfort. Addressing these challenges effectively involves understanding the available techniques and selecting appropriate materials, which can be achieved through DIY methods or professional refurbishment services.
Overview of Draught-proofing Techniques
The realm of draught-proofing encompasses a variety of techniques, each suited to different levels of severity, aesthetic preferences, and budget constraints. Popular methods include:
- Applying weatherstripping and sealants along sashes and frames
- Installing draught excluders or brush seals at key leak points
- Adding secondary glazing for enhanced insulation
- Using gap fillers like Gapseal or Reddipile weatherstrips
- Employing historical conservation-approved solutions for heritage buildings
Choosing the right combination depends on the condition of your windows, the desired aesthetic, and compliance with conservation regulations. Next, we explore each key method in detail to empower you to make informed decisions.
Key Methods for Draught-proofing Sash Windows
Using Weatherstripping and Sealants
Weatherstripping is a straightforward yet highly effective solution for sealing the moving parts of sash windows. It involves applying flexible strips of rubber, foam, or metal along sashes, frames, and joints to block air leaks. The choice of material depends on the thickness of gaps, window position, and aesthetic requirements.
Sealants, including high-quality silicone or acrylic-based products, are used to fill cracks and gaps around window frames and sash edges. When properly applied, sealants create a weatherproof barrier that remains durable over time. An essential step is thoroughly cleaning surfaces to ensure adhesion and inspecting for any structural issues that units might have; otherwise, sealing might only mask underlying problems.
Installing Draught Excluders and Brush Seals
Draught excluders or brush seals are specifically designed to fit along the bottom rail of sash windows, preventing cold air from entering underneath. They come in various forms:
- Brush Seals: These are flexible brushes attached to a backing strip that can be fitted into a groove or adhered to the window frame. They are highly effective at excluding draughts while allowing smooth sash operation.
- Self-Adhesive Brush Strips: Offered by companies like Reddiseals, these strips are easy to install and remove if necessary, making them suitable for rental or heritage-sensitive properties.
Padding gaps with foam or felt strips can also improve airtightness but may be less durable over time. It’s crucial to select products that do not hinder window operation while providing effective sealing.
Secondary Glazing and Additional Insulation Solutions
Secondary glazing involves fitting an additional pane of glass or acrylic inside the existing sash window, creating a sealed air gap that significantly enhances insulation. This method is reversible and minimally invasive, making it ideal for listed or heritage properties.
Effective secondary glazing systems include fixed panels, magnetic window solutions, or clip-in units, all designed to improve airtightness and reduce heat transfer. When combined with draught-proofing techniques, secondary glazing can lower heating bills by up to 30%, according to energy efficiency studies.
Other insulation strategies include applying thermal film, adding heavy curtains or shutters at night, and sealing any cracks or gaps with appropriate materials. These methods complement primary draught-proofing efforts, ensuring a comprehensive approach to home comfort.
Step-by-Step Guide to Draught-proofing
Assessing Gaps and Identifying Problem Areas
The first step involves a thorough inspection of your sash windows to locate sources of draughts. This can be done visually or using simple DIY tests such as:
- Hold a lit candle or incense stick along sashes, frames, and gaps; observe if the flame flickers or smoke wavers.
- Use a hand to feel for cold air entering around the perimeter.
- Close and lock the sashes, then check for external air movement along seals, corners, and joints.
Document all leaks, cracks, and worn seals to prioritize areas needing treatment.
Choosing the Right Materials and Products
Based on your assessment, select suitable materials:
- For minor gaps, self-adhesive weatherstrips or foam tapes work well.
- For larger gaps or where more robust sealing is needed, consider brush seals or gap fillers like Gapseal.
- If the aesthetics permit and extra insulation is desired, secondary glazing kits are recommended.
Ensure all products selected are compatible with sash window operation, especially for sash movement and alignment.
Performing DIY Installation or Professional Refurbishment
DIY installation is achievable with careful preparation:
- Clean and dry all surfaces thoroughly.
- Follow manufacturer instructions for applying weatherstrips or sealants.
- Use tools such as putty knives or applicators for precision.
- Test window operation after installation to ensure smooth sliding and sealing effectiveness.
For complex cases or extensive deterioration, engaging a professional specialist with experience in heritage window refurbishment ensures that draught-proofing is performed correctly, preserving authenticity and functionality.
Maintenance and Best Practices for Long-term Results
Regular Inspection and Re-sealing
Periodic checks are vital to ensure that draught-proofing remains effective over time. Inspect weatherstrips, seals, and gaps at least annually, looking for deterioration, cracking, or displacement. Re-apply or replace materials as needed to prevent resurgence of draughts.
Enhancing Energy Efficiency with Curtains and Shutters
Heavy, thermal curtains or traditional shutters add an extra layer of insulation, particularly at night. Closing curtains during cold evenings reduces heat loss through windows by up to 25%. Additionally, installing shutters protects against drafts, especially in older sash windows where seals are compromised.
Legal and Historic Considerations in Draught-proofing
When working on listed buildings or properties within conservation areas, it is essential to comply with local regulations and conservation guidelines. Seek advice from heritage bodies before installing secondary glazing or removable draught-proofing methods. Many products are specifically designed for conservation use, blending performance with aesthetic sensitivity.
Measuring Success and Cost-Effectiveness
Monitoring Thermal Performance Improvements
After implementing draught-proofing measures, assess improvements using:
- Infrared thermography cameras to visualize heat loss patterns
- Indoor temperature monitoring with data loggers
- Comparison of heating bills pre- and post-intervention
Consistent monitoring helps quantify ROI and inform future upgrades.
Cost Analysis: DIY vs Expert Services
DIY solutions can cost as little as £20–£50 per window for basic seals and strips, making them accessible for most homeowners. Professional refurbishment, encompassing comprehensive sealing, secondary glazing, and timber repairs, can range from £200 to over £600 per window depending on complexity and heritage restrictions. While initial costs are higher for the latter, long-term savings in energy bills and increased comfort often justify the investment.
Case Studies and Customer Testimonials
Many homeowners report up to 30% reductions in heating costs after proper draught-proofing. For example, a Victorian terrace in Bristol achieved significant thermal improvements after combining weatherstripping, secondary glazing, and heavy curtains, resulting in improved comfort and a notable decrease in their winter energy bills.
Testimonials highlight that careful, well-executed draught-proofing preserves the charm of sash windows while enhancing energy efficiency—a balance valued by preservationists and modern homeowners alike.